Oppo A3x ISP PinOUT EMMC | Test Point – Latest FRP & Dead Boot Solution
If your Oppo A3x is stuck with FRP lock, won’t boot, or appears completely dead, the ISP PinOUT EMMC method is your go-to solution in 2025. With the right tools and a precise approach, you can access the phone’s internal memory chip (EMMC) directly—bypassing software locks and recovering data or firmware.
In this detailed guide, we’ll cover everything from what ISP is, to how to identify the correct pinout, required tools, and how to connect the Oppo A3x to an EMMC tool like UFI Box, Easy JTAG, or Medusa Pro.
What is ISP (In-System Programming)?
ISP (In-System Programming) allows technicians to connect directly to the EMMC chip on a phone’s motherboard without desoldering it. It enables access to internal memory for:
- Bypassing FRP Lock
- Fixing dead boot or no display
- Dumping or writing firmware
- Partition repair
- Restoring corrupted EMMC partitions
- Recovering phones stuck in “EDL not working” or “no ADB/Fastboot access” scenarios
When Do You Need Oppo A3x ISP Pinout?
Use ISP PinOUT on Oppo A3x if:
- The phone is completely dead (black screen, not charging)
- FRP (Factory Reset Protection) is enabled, and traditional bypass methods fail
- You need to recover or dump firmware
- You’re working on partition repair or dead boot fix
- The phone shows up as “Unknown device” in the PC or doesn’t enter EDL Mode
Required Tools for ISP Connection
Before starting, ensure you have:
✅ EMMC Tool (UFI Box, Easy JTAG, Medusa Pro)
✅ Fine Jumper Wires (0.1mm – 0.3mm thickness)
✅ Soldering Iron (Precision tip recommended)
✅ Isopropyl Alcohol (IPA 99%) (For cleaning PCB)
✅ Multimeter (To check continuity & avoid shorts)
Oppo A3x ISP EMMC PinOUT – Pin Labels to Know
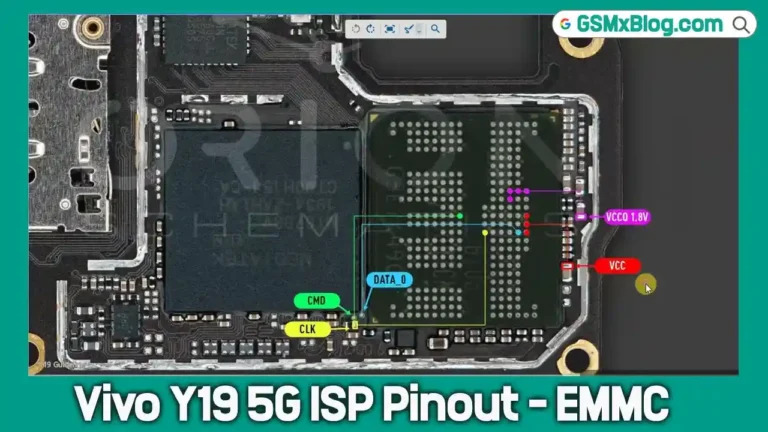
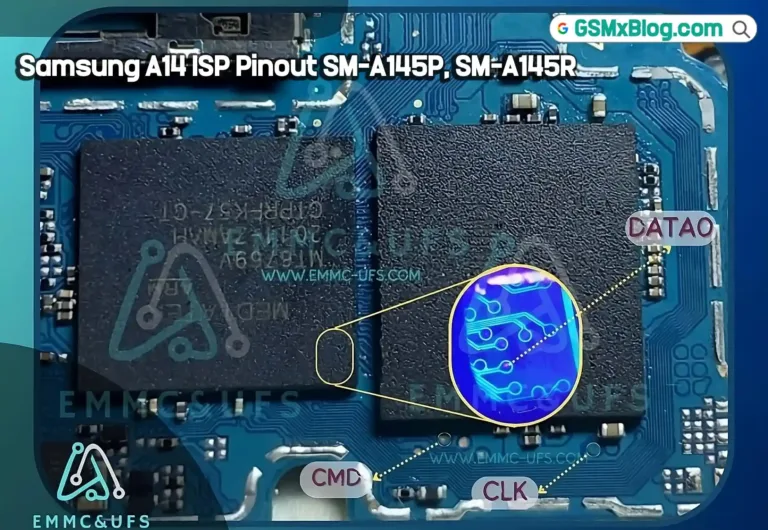
Once you remove the shielding near the EMMC chip, you’ll find the ISP Test Points. Here are the standard labels and their meanings:
- CMD – Command Line
- CLK – Clock Line
- DAT0 – Data Line 0
- VCC / VCCQ – Power Supply to EMMC
- GND – Ground
📝 Tip: Always double-check these pins under a microscope. Don’t rely entirely on diagrams, as PCB layout revisions may differ slightly across batches.
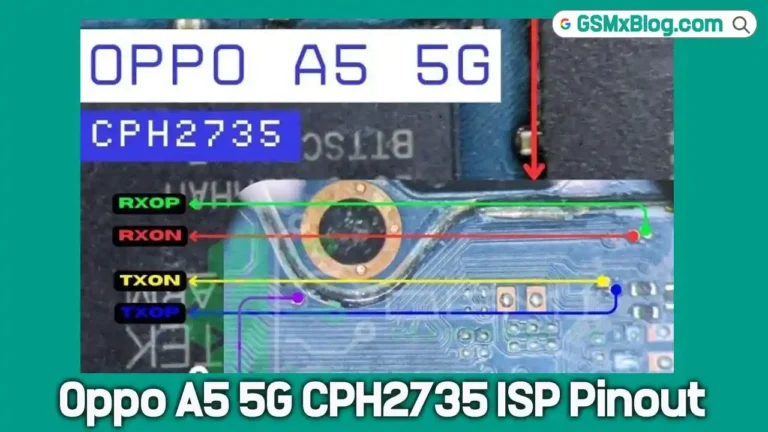
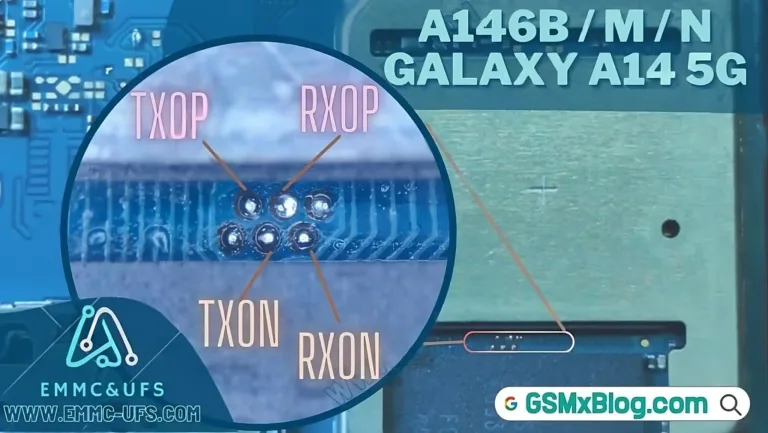
📷 Oppo A3x ISP PinOUT Image (Test Point)
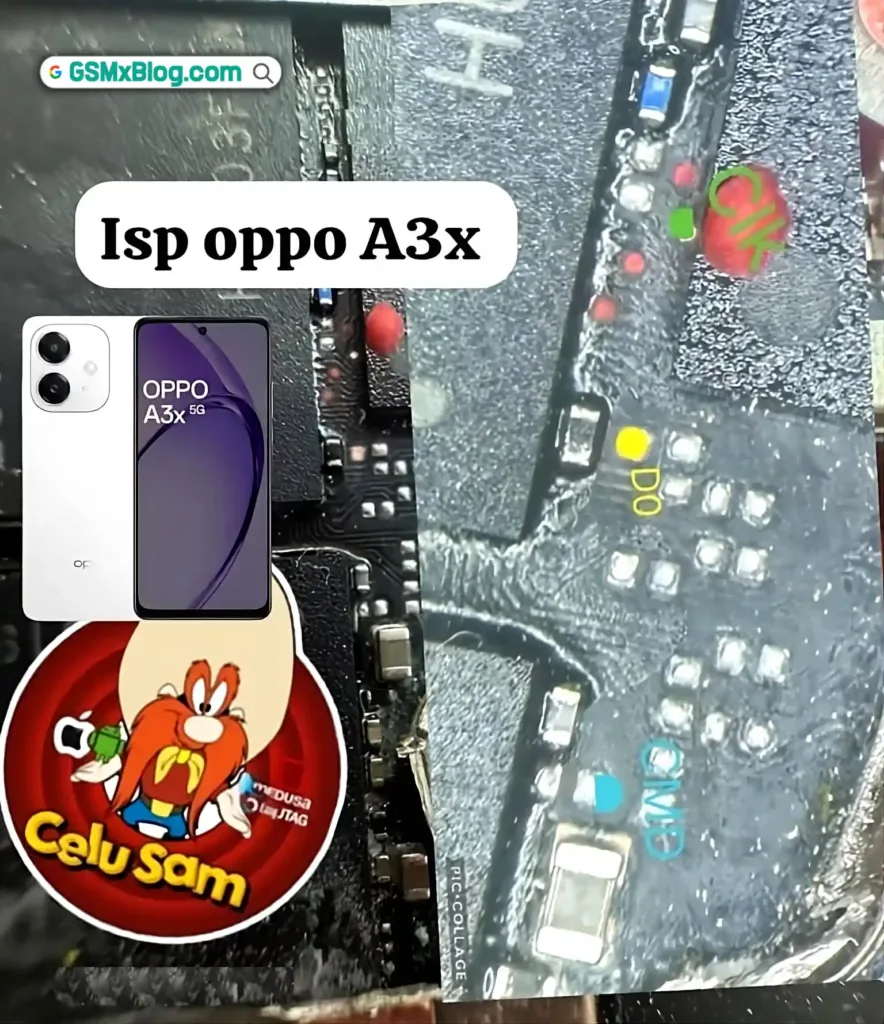
This image helps locate the exact points on the motherboard. Soldering must be done carefully using a very fine tip iron and good-quality jumper wires.
🔌 How to Connect Oppo A3x ISP to EMMC Box
Follow these detailed steps for a successful connection:
- Power Down & Disassemble:
Remove the phone’s back cover and battery. - Clean the PCB Area:
Use IPA 99% to gently clean the EMMC zone. Apply a bit of flux. - Solder Jumper Wires:
Carefully solder wires to CMD, CLK, DAT0, VCC, and GND. Use 0.1–0.3mm wire. - Connect to EMMC Box:
Plug the other ends into your EMMC tool following the manufacturer’s pinout chart. - Check Continuity:
Use a multimeter to verify each connection and ensure no shorts. - Start the Tool & Scan:
Power on UFI Box or Easy JTAG software. If connected correctly, you’ll see the EMMC chip info on-screen.
Latest FRP Bypass Method
If your Oppo A3x is FRP-locked, here’s the fastest working solution:
Method: Using UFI Box
- Enter EDL Mode via test points.
- Dump “persist” partition and delete
frpfiles. - Re-flash the modified firmware to bypass Google verification.
Common Issues & Fixes
❌ No EMMC Detection?
- Check wire connections (CMD, CLK, DAT0 must be secure).
- Ensure VCC is getting proper voltage (1.8V or 3.3V).
❌ Phone Still Dead After Flashing?
- Try different firmware versions (Some builds may be incompatible).
- Verify bootloader status (Relock if needed).
Conclusion
Using Oppo A3x ISP PinOUT EMMC Test Point is a powerful and advanced method to recover a dead phone, bypass FRP, or fix boot issues—especially when traditional flashing methods fail. With the help of tools like UFI Box, Easy JTAG, and a careful approach, you can bring your device back to life even from a no-display or bricked state.
Remember to double-check pinout locations visually, use high-quality tools, and avoid shortcuts. If done properly, this technique can save both your data and device without motherboard replacement.
🔗 Related Resources
- 🔧 Download UFI Box Setup & Drivers
- 🧰 Easy JTAG Plus Setup & EMMC Pinout Guides
- 📥 Download Latest Vivo Firmware Files
If you found this guide helpful, feel free to bookmark and share it with other mobile technicians! For more updates on Vivo repair guides, FRP tools, and test point solutions, stay connected with GSM X Blog.
