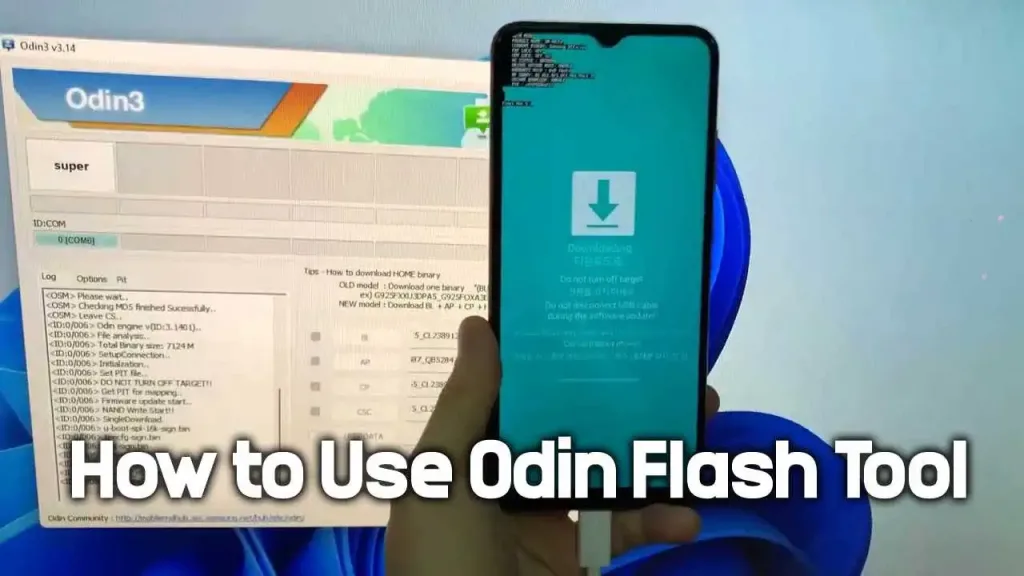
How to Use Odin Flash Tool Complete Guide for Flashing Samsung Firmware
Flashing stock firmware on Samsung devices using the Odin Flash tool is an effective and reliable method for updating, repairing, or customizing your device’s software. Whether you’re a seasoned user or new to flashing, Odin can help you install official firmware, recover from a boot loop, or restore your Samsung phone to its factory settings.

In this guide, we’ll cover everything from prerequisites to step-by-step instructions for using Odin to flash stock firmware on your Samsung device. We’ll also address common issues and provide tips to ensure a smooth experience.
What is Odin Downloader
Odin Downloader is a firmware flashing tool developed by Samsung, primarily used internally by service centers for testing and repairing devices. It allows users to load official stock firmware, custom ROMs, recovery files (TWRP), and root files onto a Samsung phone or tablet. Odin is a powerful tool that requires a Windows PC to function and can be a bit intimidating for first-time users.
However, using Odin can be straightforward and highly beneficial with the right preparation and guidance, especially for modders and tech enthusiasts.
Benefits of Using Odin
- Restore Stock Firmware: If your device is stuck in a boot loop or bricked after installing a custom ROM, Odin can restore the phone to its factory state.
- Root Devices: Flash custom recovery (TWRP) or root packages using Odin to gain administrative privileges.
- Update to Latest Firmware: Odin lets you install the latest firmware manually before it’s officially available via OTA.
- Fix Software Issues: Resolve problems such as bugs, crashes, and performance drops by reinstalling the firmware.
Requirements for Using Odin
Before you begin, make sure you have the following tools and preparations in place:
- Windows PC: Odin is a Windows-only application.
- Samsung USB Drivers: Ensure the Samsung USB drivers are installed on your computer.
- USB Cable: Use the original or a high-quality USB cable for the connection.
- Firmware File: Download the correct stock firmware for your device. Ensure it’s the right version based on your model and region.
- Odin Tool: Download the latest version of Odin Downloader
- Backup Data: Flashing firmware will erase all personal data. Always back up your device before proceeding.
Step-by-Step Instructions to Flash Stock Firmware
1. Backup Your Data
Before flashing the firmware, ensure all your important data is backed up. This process will wipe your phone’s storage, so it’s crucial to save contacts, media files, and app data.
2. Download Necessary Tools
- Samsung USB Drivers: If you don’t have the drivers installed, download them
- Odin Tool: Download the latest version of Odin Downloader (usually referred to as Odin3) and extract the ZIP file.
- Stock Firmware: Download the correct firmware package for your device model. This file usually has a
.tar.md5extension.
3. Boot Your Samsung Device into Download Mode
To flash firmware using Odin, you must boot your phone into Download Mode:
Method 1
- Power off your Samsung device.
- Hold Volume Down + Home + Power buttons simultaneously (for older models). For newer models with Bixby, press Volume Down + Bixby + Power.
- When a warning screen appears, press Volume Up to enter Download Mode.
Method 2
Samsung 300K Tool (Samsung Download Mode Tool): Download Mode without the need to press any physical keys like the power, home, or volume buttons
4. Connect Your Device to PC
Using a USB cable, connect your Samsung phone to your PC. Once connected, open Odin on your computer. The Odin window will detect your device and display the message “Added!” in the log window. If this doesn’t happen, reinstall your USB drivers or try a different USB port.
5. Flash Firmware Using Odin
- In the Odin tool, click the AP button (for older versions, this could be PDA).
- Navigate to the downloaded firmware file on your PC (usually a
.tar.md5file). - Make sure the following options are selected: Auto Reboot and F. Reset Time. Ensure Re-Partition is NOT checked.
- Click the Start button to begin the flashing process.
The process will take around 5–10 minutes. Once the installation is complete, Odin will display a green “PASS!” message, and your device will reboot automatically.
Troubleshooting Common Odin Issues
- Stuck at “Setup Connection”: Ensure that the USB drivers are correctly installed, and try a different USB port or cable.
- Fail Message in Odin: This could indicate a compatibility issue with the firmware version. Double-check that you’ve downloaded the right firmware for your region and model.
- Boot Loop After Flashing: If the phone is stuck in a boot loop after flashing, try booting into recovery mode and performing a factory reset.
FAQ: Frequently Asked Questions
Can I use Odin on a Mac?
Odin is a Windows-only tool. However, you can use Heimdall, an open-source alternative compatible with macOS and Linux.
Will using Odin void my warranty?
Flashing official firmware using Odin does not void your warranty. However, rooting or flashing custom ROMs may void it.
What is the difference between the different buttons in Odin (AP, BL, CP, CSC)?
AP (Application Processor): Used to load the main firmware file.
BL (Bootloader): Used to update the bootloader.
CP (Core Processor): Flashes the modem or radio file.
CSC (Consumer Software Customization): Responsible for region-specific configurations.
Conclusion
Odin Downloader is a powerful tool that allows you to flash stock firmware, fix software issues, or customize your Samsung device with ease. By following the steps outlined in this guide and taking the necessary precautions, you can safely use Odin to update or restore your phone. Remember to always double-check your firmware files and back up your data before flashing.

